
Cycle 2 Week 10 Wonderful Wednesdays Moon and Music

 |
| See bottom post to find info on "writing" music with food! |
 |
| A classical fun approach to learning music theory! |
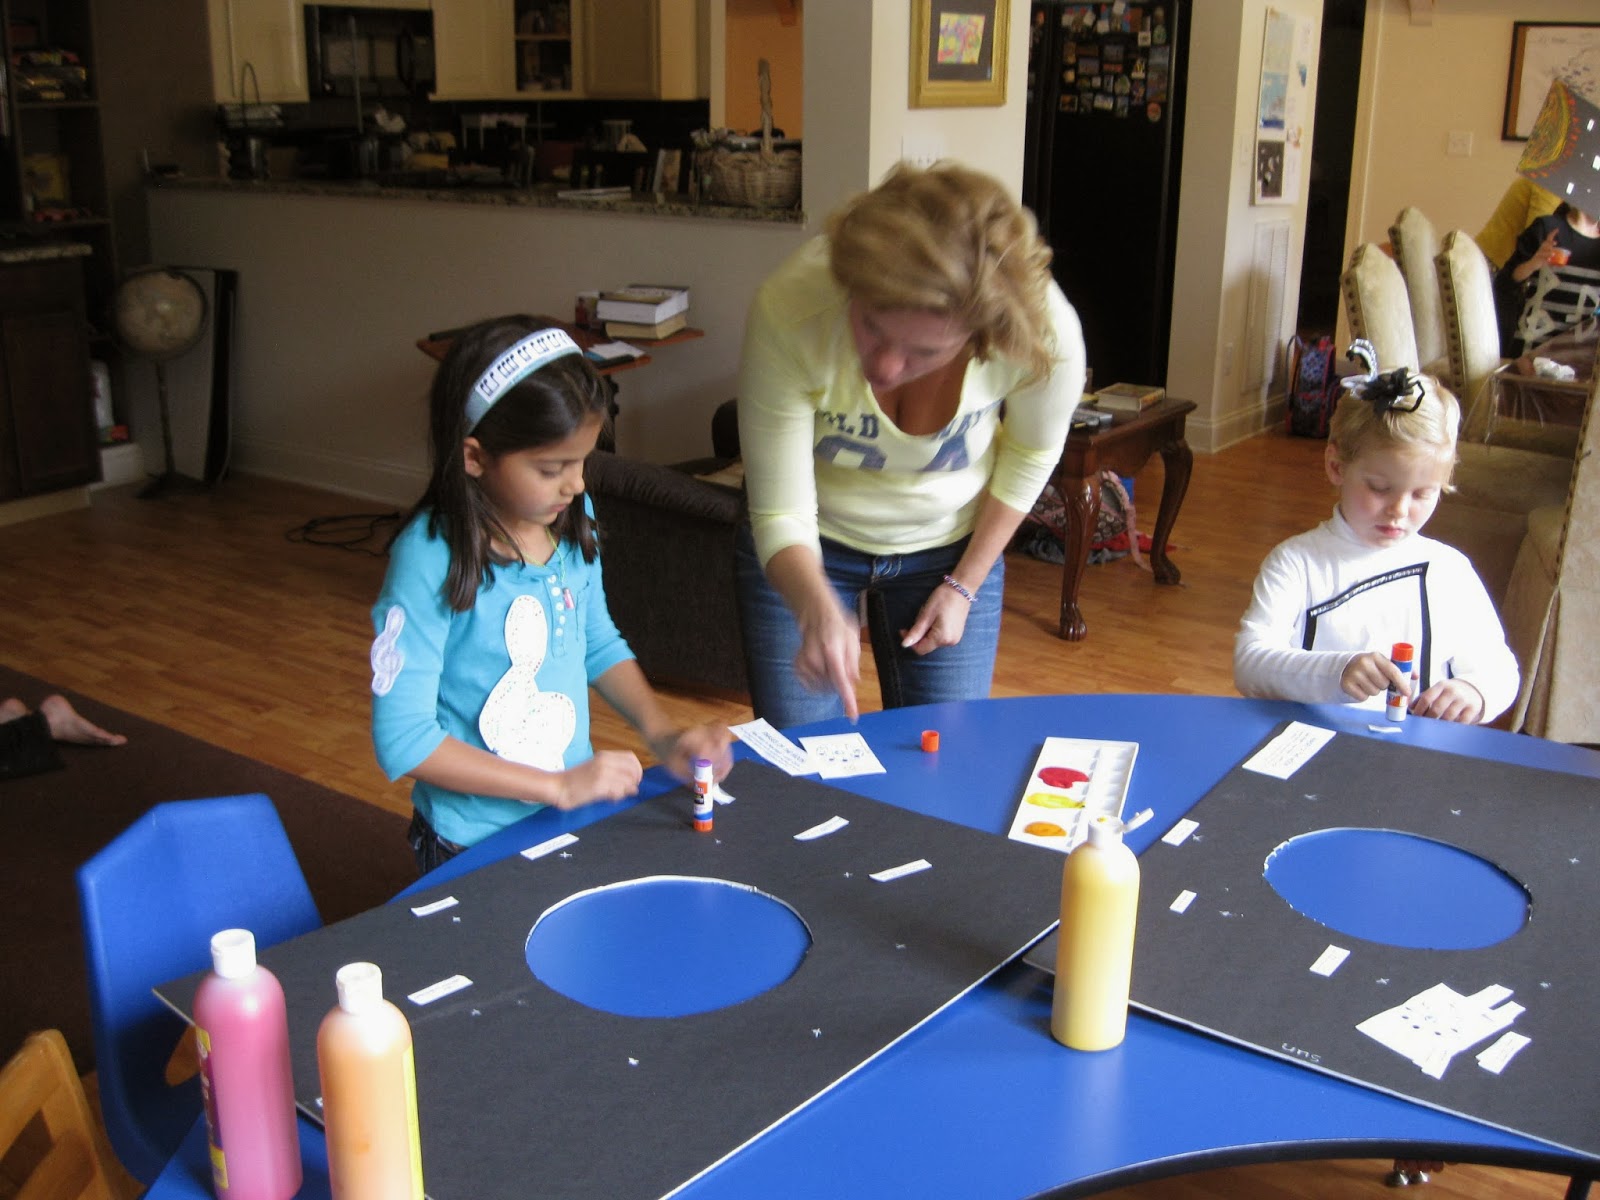
Today we focused ourselves on the Moon for our project. This project was neat. It allowed the kids to really get a great hands on visual of how the phases of the moon works. When completed the kids put their heads through the board becoming the "earth" and they then rotated the board around themselves, which gave them a view of each phase of the moon as they spun it. So cool!

Here's what you need:
*1 Foam board in black (got mine at dollar store)
*8 Foam 1 1/2" balls
*Paints in black yellow, red, orange & glitter glue in red (optional)
*Painters tape
*Labels
*Hot glue gun
*Ruler
*White Chalk
*Box cutter knife

The first thing to do is find a plate that will be large enough to fit your children's heads through easily but still leaves room to apply your moons around the outside of the circle. Once you've traced it onto the foam board you use your box cutter to follow that around and cut out your hole. Then depending on the circumference of the circle, you need to evenly divide 8 into that number to find your distance between each moon. Once that's done you mark the 8 spots around the hole using the white chalk. (I used a regular sized dinner plate to draw my circle and then went 3" out from the edge to begin marking my X's at 8" intervals.) See above for what you should have when you're done.

Next we taped off all the foam balls into halves so the kids could paint 1/2 of each ball black. So that is where the kids started in with the project themselves. The previous few tasks were too difficult or dangerous for the kids to help with so they were all done for them before starting. The kids began with painting their moons black on one side. Once they painted those we set them aside to dry.

Then we had them paint their "sun" on one side of their foam board using yellow, orange, and red paints being sure to keep enough distance from the markings for the moon to be glued on. We also used red glitter glue to embellish our suns at the end.


Next thing we did was to apply the labels in the proper place. I found a diagram online that I printed out to use as a "key" for them to glue on the bottom corner to be able to properly label their moon phases.


Once they painted and labeled everything - us Mom's took over hot gluing the moons to the foam board. It was just safer and easier because they were still slightly wet and we had to have all the tape removed from them. So while we did that, we had the girls run their own review game together. They did an awesome job! It worked out perfectly.
When you hot glue your moons they all should be facing the same way - with the white half facing the sun.

One of the books I shared with my group that I loved was Destination: Moon by Col. James Irwin. What a fabulous testimony to God as he recounts his physical and spiritual journey to the Moon on Apollo 15. I highly recommend this book for your kids! It would be a great read aloud for younger ones or read alone for any kid above 8 and it has some nice photos. You can purchase it from Christianbook.com by clicking on the link below....
 |
| Destination Moon |
This week the girls dressed up as various musical symbols! They all did a great job. We had notes, crescendo's, rests, treble clef, staffs....

We also had a smart Momma's idea to bring in various snacks that the girls could make into musical symbols. So the kids had a blast with their musical symbol creations!


 |
| Some composed entire songs! LOL |


It was a Wonderful Wednesday!
Cool projects! I LOVE the phases of the moon project.
ReplyDeleteYummy healthy & edible notes!
ReplyDeleteLove the music note snacks! I recently started to teach my kids the piano. This would be a great idea to help them remember the types of symbols! Thanks for sharing =)
ReplyDelete